Hey guys! It's been a long time since I did something off from a tutorial, so I decided to do something learning from tutorial this time.
Today, I decided to use blenderguru.com for my tutorial for creating a rainy window.
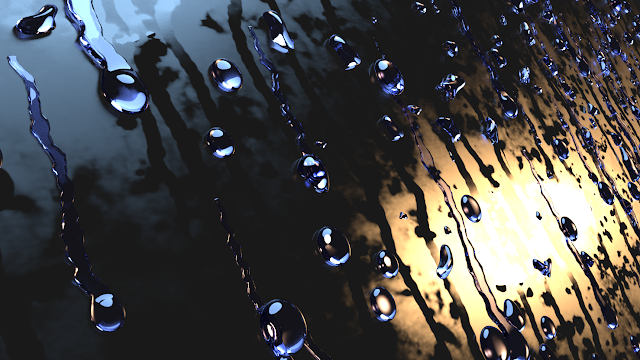
This is the process of creating a raindrops on the window.
After adjusting the amount and the size of the water droplets, I thought of rendering this:
...So cool
Now, it's time to add more details to the image - the mist.
And the light.
 |
| Adding Light |
The image looks really great! However it seems that there need to be more adjustment for the lighting.
 |
| Configuring light |
 |
| Light Adjustment |
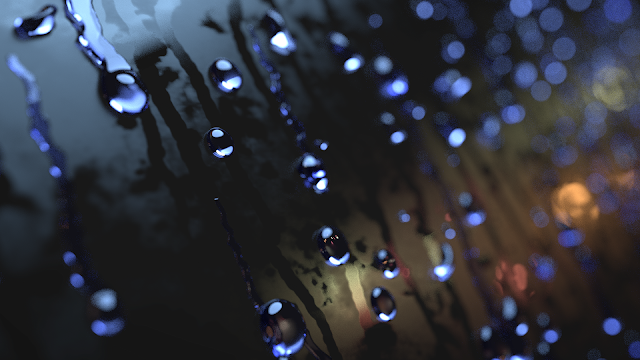
Now, using the compositing node, I decided to add some depth of field into this work.
 |
| Depth of Field |
 |
| Vignette |
The final result looks very fabulous, however I think there needs to be adjustment with the position of depth of field. Apart from that I was really satisfied with the final outcome.
Tutorial Help: www.blenderguru.com


